Hans Moritz Günther is a research scientist at MIT. He works on high-energy emission from young stars and their jets and outflows. He was the chair of the LOC for the Cool Stars 20 workshop in 2018 (550 participants), and was on the LOC for two TESS related conferences in the summer of 2019. This post is the fourth in a series of posts on tips for organizing conferences.
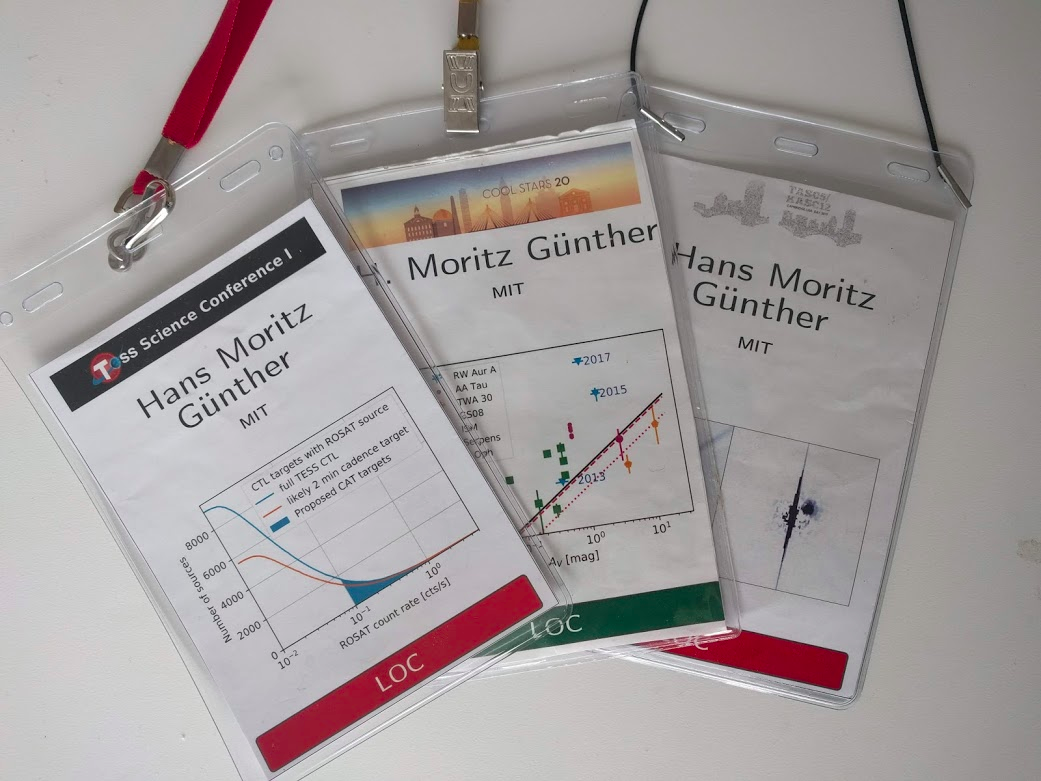
In the first post of this series, I discussed best practices for conference name tags. In short, they should have the attendee name in big letters and be easily readable from a distance. In this post, I want to share a way to make conference name tags more exciting: Give participants a way to customize their badge by adding one (or two, if you print double-sided, which I highly recommend) science images to their badge. We did that for Cool Stars 20 and for two TESS conferences in 2019 and received a lot of positive feedback. Luisa Rebull said that:
What [the LOC] did for the last Cool Stars was genius — [the LOC] asked us for one graph (science result[s]) to put on our nametag. It prompted lots of great conversations!
I know there are a few other conferences that are planning to implement this technique in the next year or two..
Here are a few examples of finished badges:
This was not originally my idea — I first saw it implemented at a workshop organized by Alyssa Goodman, who herself borrowed it from Felice Franke who used it for a number of conferences since 2001. What is new is that I wrote an automated script that allows participants to upload images, making these badges possible for conferences with hundreds of participants.
How did we do it for over 500 people? I wrote a Python script that generates badges in PDF form with placeholder images. We set up a new gmail address so that the script can then email a draft badge to all participants. The script also monitors the gmail address to download new emails, and parses those emails to find the changes requested (e.g., if there is an image attached, it adds that to the badge). After every change, the script makes a new PDF for the conference badge with those updates and sends it back by email so that the conference participant can confirm that everything looks good after the change. That Python script is open source and available on GitHub.
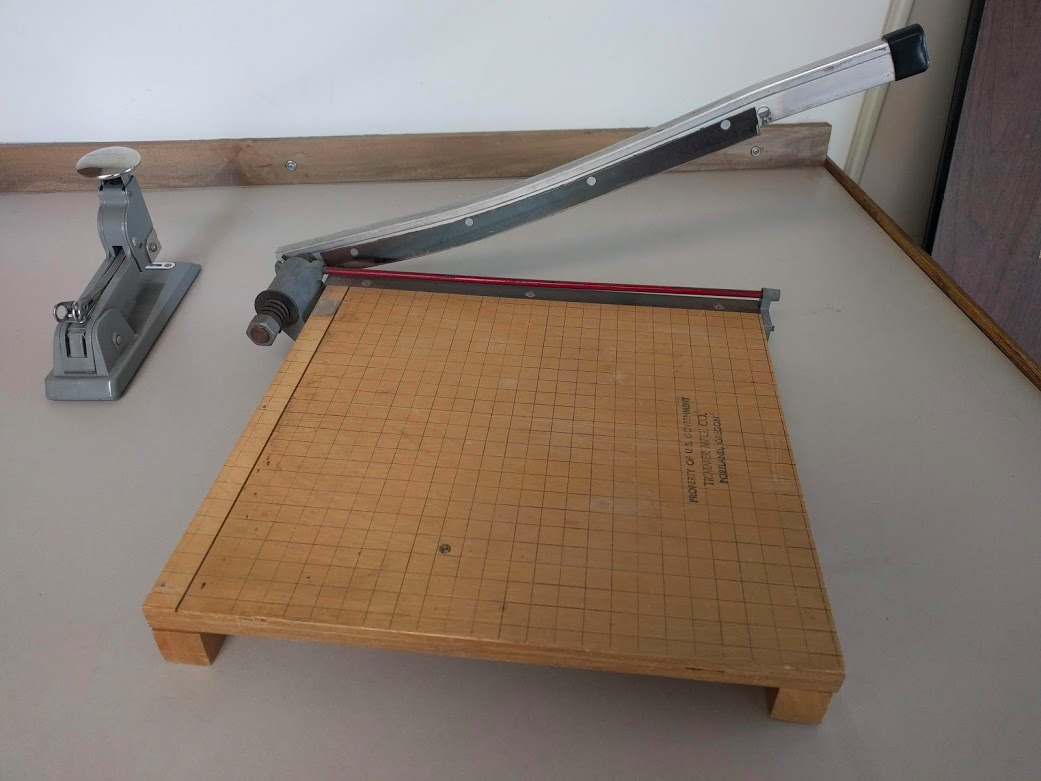
Our layout is for a 4 inch by 6 inch (about 10 cm by 15 cm) badge with a conference logo at the top, followed by the participant’s pronoun, name, and affiliation, with space for an image below. At the very bottom, the script can include a color bar with a label (e.g., green for “LOC” members, orange for “panel speaker” etc.); badges with a color bar simply have a little less space for the image. We allow for two different images (one for the front and one for the back) and we printed front and back next to each other on a standard laser printer. Using a large paper cutter we cut about 20 sheets at once. We then folded the paper and inserted it into a badge holder.
And this is what it looks after we assembled them all:
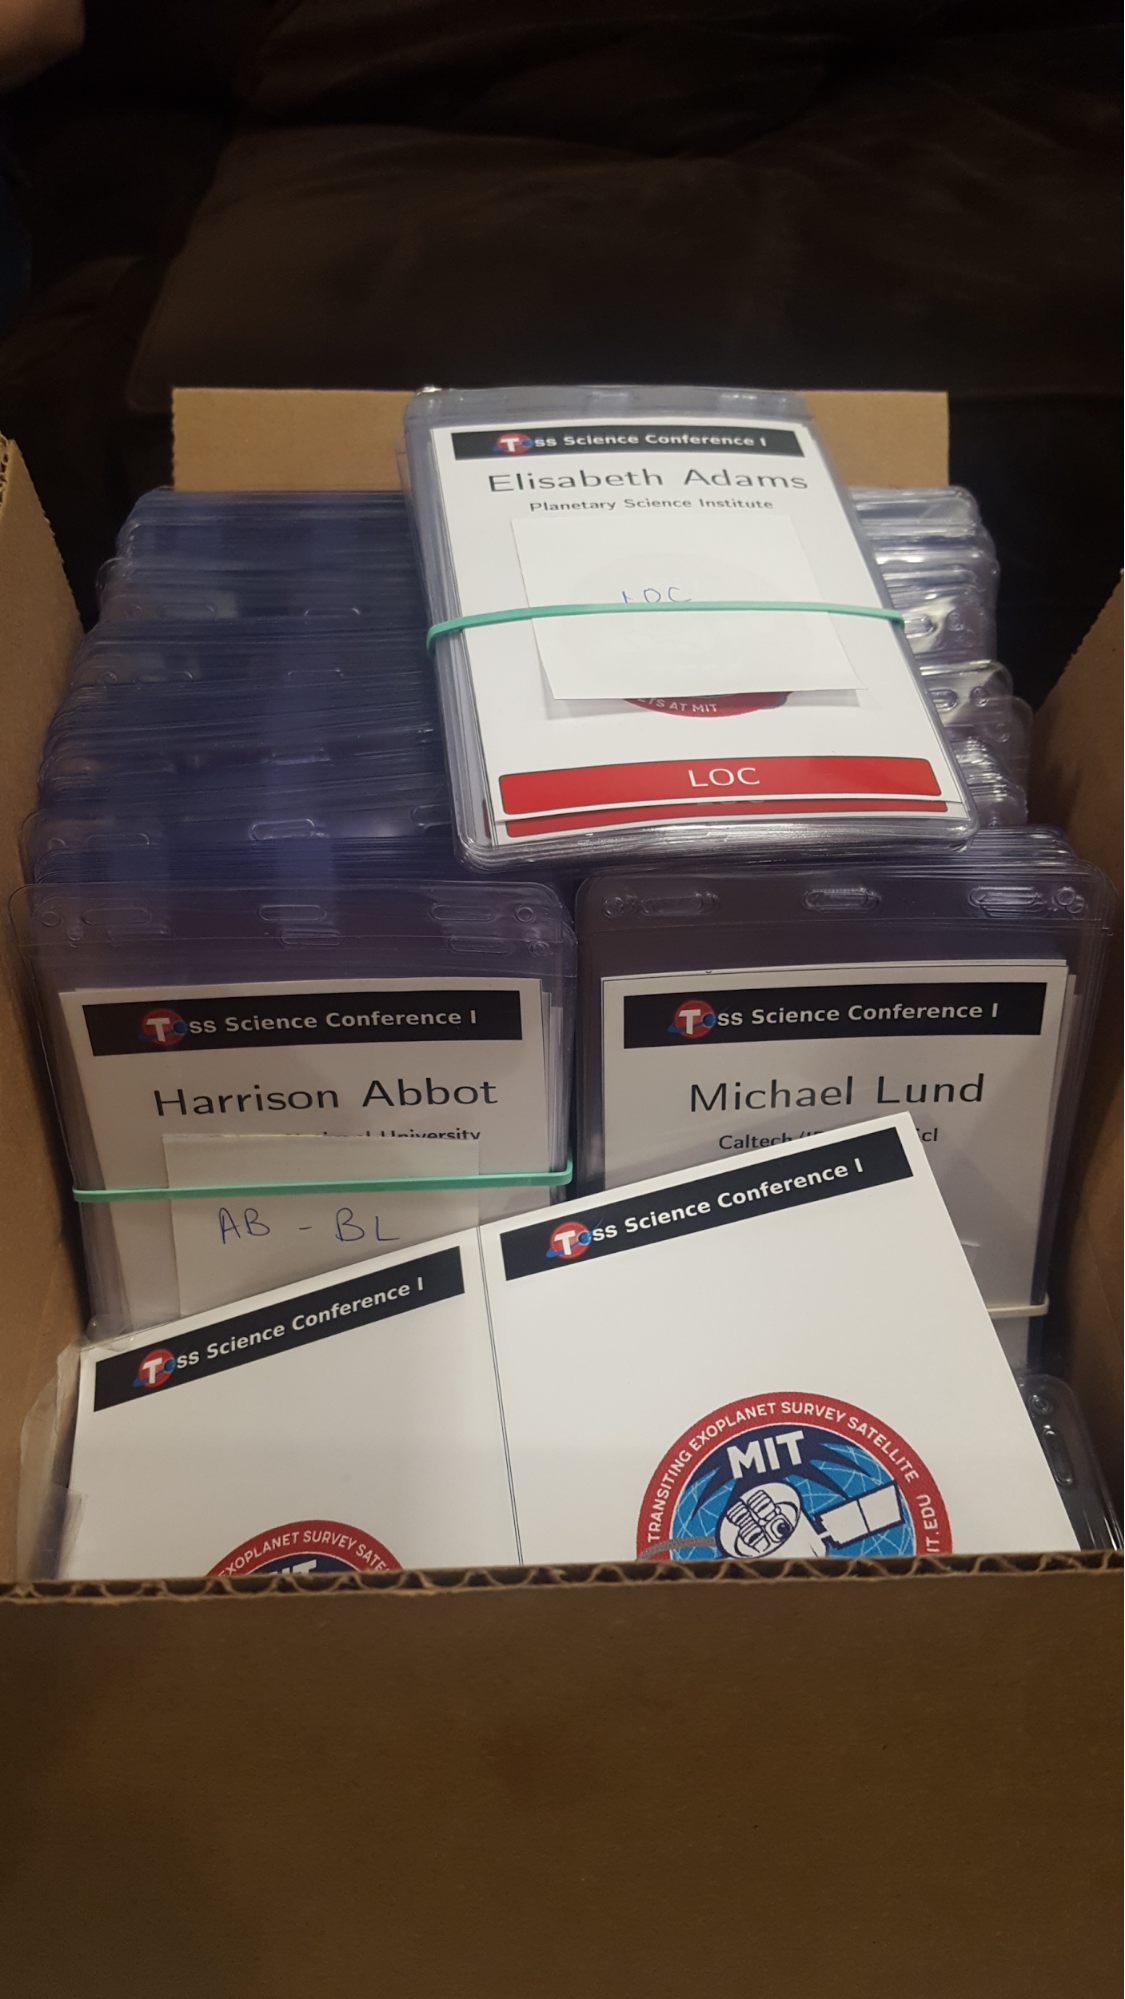
There is still some manual work required with this process, but it’s manageable. A few people reported problems and we had to fix their badges by hand. We also checked all badges before printing them to catch images that would have violated our code of conduct (none) or contained obvious errors (e.g., the name was set to “INSERT YOUR NAME HERE”). Not counting the time to program the script (which you don’t have to do again because you can use mine), it took maybe one afternoon to set up (create the email address, make the template for the badge, send out emails) and one afternoon for three people to check, print, and cut the badges for 550 participants — not a lot of time considering how much positive feedback we got for it!
So, if you are planning to organize a meeting anytime soon, the Python script is open source and available on GitHub with detailed instructions!
Really cool idea, thanks!